

DIY Advent Treasure Hunt Calendar (Super Easy!)

Alaina has been asking me for an advent calendar since she was 6 years old but I’ve never bought her one because I felt that the toys/candy that came with the usual advent calendars for sale was a waste of money. She would play with a small toy for a few minutes, hopefully an hour, then just stash it in her toy box where it would never see the light of day again. This year, I caved in. It has been a tough year for her with virtual learning and not being able to play with her friends everyday. A’s Love Language is RECEIVING GIFTS so I made her an Advent Treasure Hunt style calendar that I knew she would really enjoy. Each day, she will be given a clue as to the location of her daily treasure/gift. Most of the gifts I got were useful (socks, gloves, notepad, pens, educational games, arts and crafts stuff, etc.) but I threw in some gifts I knew she would really love (candy, cash and Roblox gift cards). The look on her face when she gave me a big hug after she saw the surprise was priceless!
In this post, I will show you how easy it is to make this calendar. The hard part is shopping for 24 gifts that your child will actually like and use that won’t break the bank. I will let you handle that part lol.
SUPPLIES YOU WILL NEED
Black foam boards (2 pcs) - I got these 20x30 inch boards at the dollar store. Yes! You can find some pretty cool stuff in the dollar store. I like their paper goods and arts and crafts section. These are also available in office supply stores like Office Depot.
White cardstock paper - I always have different colored cardstock on hand for our craft projects but you can get this in any office supply store like Office Depot or even Target.
White printer paper
Scissors/paper cutter/paper trimmer
Printer
Mini stockings - There is a wide variety of mini stockings in Amazon. I got the 5 inch ones like these so that I wouldn’t need more than 2 foam boards.
Hot glue gun/push pins - You will need either a hot glue gun or push pins to attach the stockings to the foam board. I wanted to have the option to use the stockings in the future without damaging them so I used the pins.
Clear tape
Daily gifts (24 of them)

Let’s start :)
1. Use the hot glue gun to attach the two foam boards. I did not do it lengthwise but instead, laid the boards horizontally and glued them together. I taped the back to reinforce the glue and prevent the two boards from coming apart.

2. Print out letters you can cut for the words ADVENT CALENDAR on top of the board. I used the vintage stencil style from freestencilletters.com which I printed out on white printer paper for free (yay!). I then glued the letters onto the board. You can add fabric poinsettia flowers or small ornaments to make the board more Christmasy :)

As you can see, the letters do not look perfect up close but that’s completely fine!
3. Using a glue gun or push pins, attach mini stockings onto the board.
4. Cut out small cards from cardstock with scissors or paper cutter.
5. Write down treasure hunt clues on the cards. I just googled treasure hunt clues to get ideas for this part.
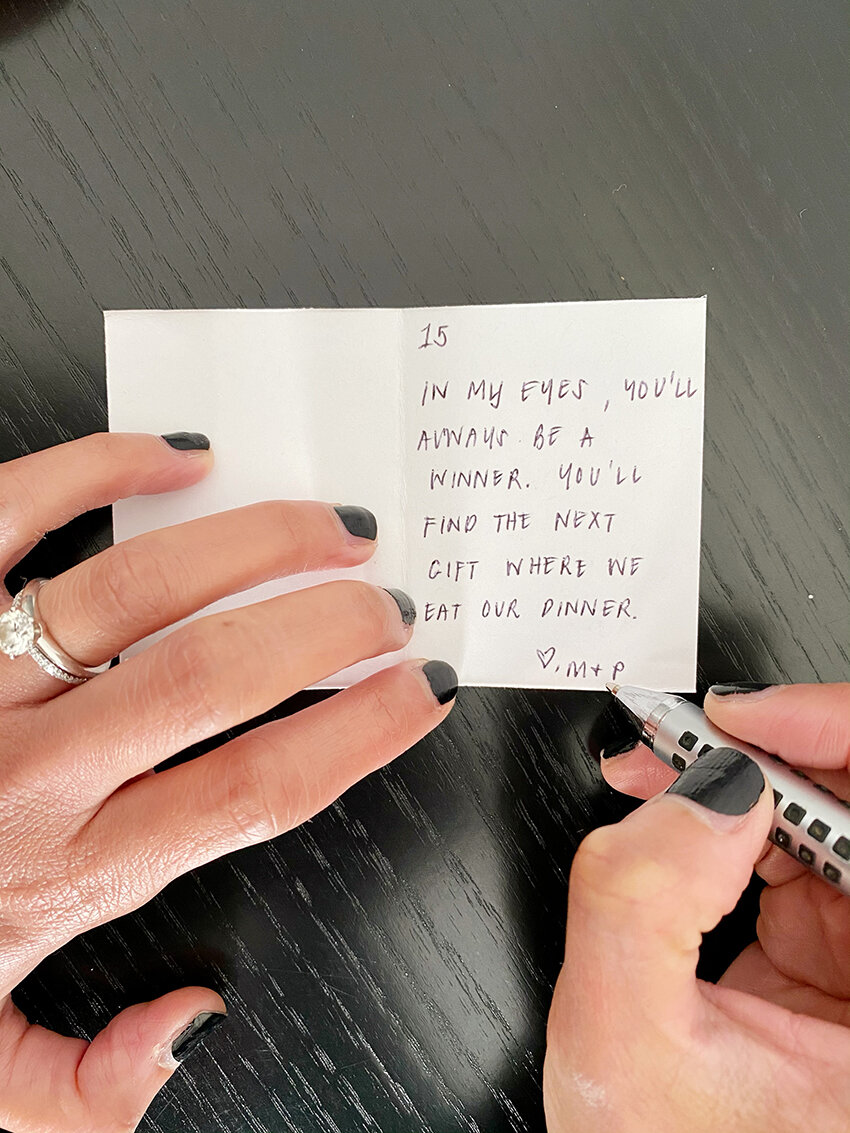
Excuse the winter skin and quarantine nails lol
6. Insert cards onto stockings.
7. Hide the gifts the morning of :)

WOOHOO! Wasn’t that easy? See this look on her face? That was a HAPPY DAY!

Happy Hunting!
I would love to hear how your kids reacted to this surprise. Let me know in the comments below :)
